Sunny never thought bread was something she could pull off. Yeast felt intimidating, kneading felt technical, and timing felt unforgiving. One quiet evening, while scrolling through Pinterest and bouncing between saved comfort recipes, she landed on No-Knead Bread. The words alone felt reassuring. No kneading meant no complicated steps. She read through it twice, noticed how little hands-on work it required, and decided to try. She mixed, waited, and trusted the oven. When she lifted the lid and saw a golden, crackly crust, she paused. The inside stayed airy and soft. That loaf changed how Sunny viewed homemade bread. No-Knead Bread became her proof that patience matters more than skill.
Why No-Knead Bread Became So Popular
What Makes No-Knead Bread So Reliable
No-Knead Bread works because it lets time do the work instead of hands. Instead of kneading, a long rest allows gluten to develop naturally. This slow process creates structure without effort. The dough stays sticky, which often worries beginners, but that moisture supports an open crumb. No-Knead Bread doesn’t rely on precision movements. It relies on patience and proper heat.
The Role of Steam in Crust Formation
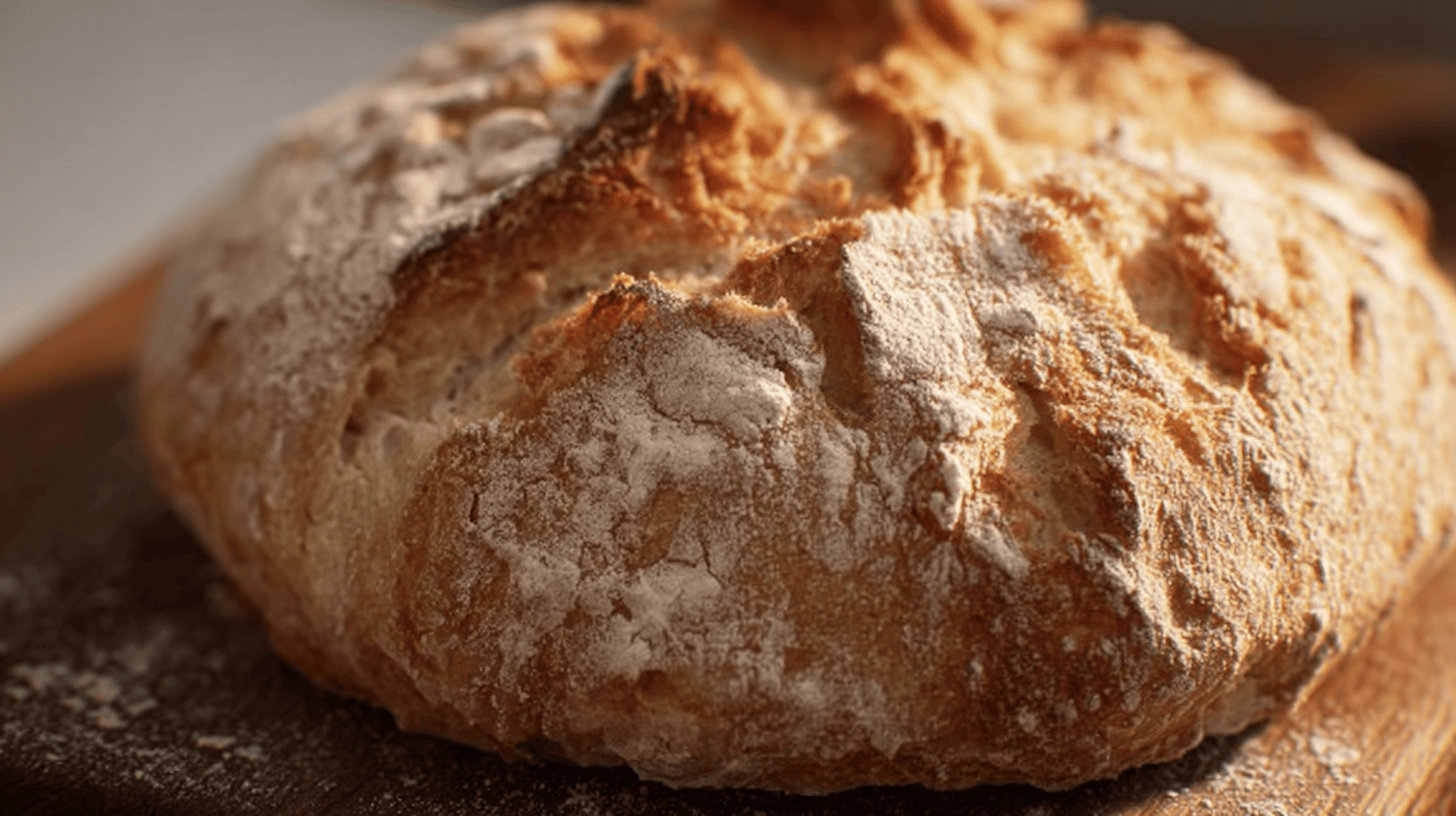
The signature crust of No-Knead Bread comes from steam. Baking the loaf in a covered Dutch oven traps moisture during the first phase of baking. That steam allows the bread to expand fully before the crust sets. Once uncovered, the crust browns and crisps. This simple technique explains why No-Knead Bread feels bakery-worthy at home.
Ingredients That Do the Heavy Lifting
No-Knead Bread Ingredient Breakdown
Every ingredient in No-Knead Bread has a clear purpose. All-purpose flour forms the structure. Yeast creates rise over time. Salt strengthens gluten and sharpens flavor. Water hydrates flour and activates yeast. Because the ingredient list stays short, proportions matter more than complexity. No-Knead Bread proves that simplicity works when ingredients align.
Ingredient Measurements
Clear measurements keep No-Knead Bread consistent.
| Ingredient | Amount |
|---|---|
| All-purpose flour | 3 cups |
| Active dry yeast | 1/4 teaspoon |
| Salt | 1 1/2 teaspoons |
| Warm water | 1 1/2 cups |
These measurements create a dough that feels wet but workable after resting.
How to Make No-Knead Bread
Mixing and Resting the Dough
To start No-Knead Bread, mix flour, yeast, and salt in a large bowl. Add warm water and stir until combined. The dough will look shaggy and sticky. Cover the bowl with plastic wrap and let it rest at room temperature for 12–18 hours. During this time, bubbles form and structure builds. This long rest defines No-Knead Bread and replaces kneading entirely.
Shaping Without Kneading
After resting, turn the dough onto a floured surface. Dust lightly with flour and fold the dough over itself a few times. Shape it into a rough ball. Place it seam-side down on parchment paper. Cover loosely and let it rest for 30 minutes while the oven heats. This gentle handling keeps air inside the dough, which supports an open crumb in No-Knead Bread.
Baking for a Crusty Finish
Preheating the Dutch Oven
Place a Dutch oven with its lid inside the oven and preheat to 450°F. Heating the pot ensures immediate steam when the dough enters. This step matters for proper oven spring and crust texture. No-Knead Bread depends on this heat transfer.
Baking the Bread
Carefully remove the hot Dutch oven. Lift the dough using parchment paper and place it inside. Cover with the lid and bake for 30 minutes. Remove the lid and bake an additional 15–20 minutes until the crust turns deep golden brown. Remove the bread and cool on a rack before slicing. Cooling allows the crumb to set properly.
Tips for Best Results
Handling Sticky Dough with Confidence
Sticky dough often worries first-time bakers. Use floured hands and surfaces lightly. Avoid adding too much flour, which can dry the loaf. Trust the process. No-Knead Bread rewards restraint.
Knowing When Bread Is Done
The loaf should sound hollow when tapped on the bottom. The crust should feel firm and crisp. Internal temperature should reach about 200–210°F if checked. These cues help confirm No-Knead Bread finishes properly.
Easy Variations
Flavor Additions That Work
You can add rosemary, garlic, or shredded cheese to the dough before resting. Seeds sprinkled on top add texture. Whole wheat flour can replace part of the all-purpose flour for deeper flavor. These changes keep No-Knead Bread familiar while allowing variety.
Serving Ideas
Serve No-Knead Bread with butter, olive oil, soup, or stew. It works well for sandwiches once cooled. Because it stays fresh for days, it fits everyday meals easily.
Storage and Shelf Life
How to Store No-Knead Bread
Store No-Knead Bread at room temperature loosely wrapped in a cloth or paper bag for up to two days. Avoid plastic, which softens the crust.
Freezing Instructions
Freeze sliced or whole loaves tightly wrapped. Thaw at room temperature and reheat briefly in the oven to restore crust.
FAQs
Can I shorten the resting time?
Shorter rest reduces flavor and structure. Longer rest improves texture.
Do I need a Dutch oven?
A heavy covered pot works best. Without it, crust quality changes.
Why is my bread dense?
Dense bread usually comes from under-resting or too much flour.
No-Knead Bread proves that homemade bread doesn’t require strength or skill. Sunny didn’t knead, shape perfectly, or rush the process. She waited, trusted time, and let heat do the rest. That simplicity makes this recipe approachable and reliable. With minimal effort and patience, No-Knead Bread delivers a crusty loaf that feels both rustic and comforting. It’s the kind of recipe that builds confidence one slice at a time.
No-Knead Bread
Ingredients
- 3 cups all-purpose flour
- ¼ teaspoon active dry yeast
- 1 ½ teaspoons salt
- 1 ½ cups warm water
Instructions
- Mix flour, yeast, and salt. Add water and stir until shaggy. Cover and rest 12–18 hours. Shape gently and rest 30 minutes. Bake in preheated covered Dutch oven at 450°F for 30 minutes, then uncovered until golden. Cool before slicing.