Sunny discovered this homemade vanilla ice cream while scrolling through YouTube, watching someone scoop silky, creamy ice cream straight from a bowl. The smooth texture and simple ingredients made it look surprisingly doable. She saved it and decided to try it over the weekend, even though she had never made ice cream from scratch. The result came out rich, creamy, and better than store-bought. Since then, this homemade vanilla ice cream has become her favorite whenever she wants a simple and classic dessert.
Table of Contents
Why Homemade Vanilla Ice Cream Is So Popular
Rich, Creamy Texture with Pure Flavor
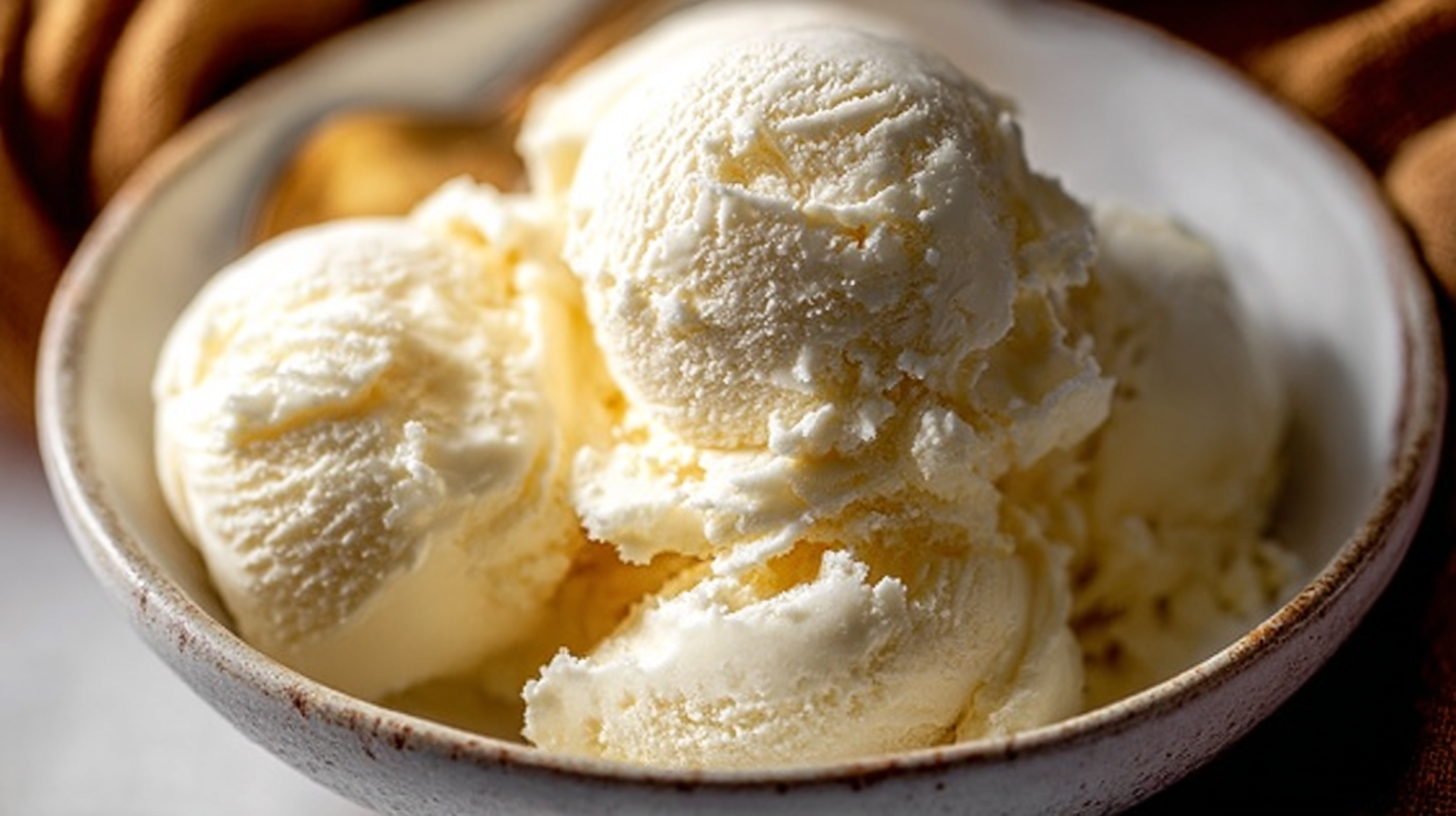
Homemade vanilla ice cream stands out because of its smooth, creamy texture. Using real cream and vanilla creates a rich taste that feels more natural than store-bought versions.
The vanilla flavor shines without artificial aftertaste. As a result, every scoop feels fresh and satisfying.
This simplicity is what makes it a timeless dessert.
Simple Ingredients with Endless Uses
Another reason this recipe is popular is its versatility. It uses a few basic ingredients but can be enjoyed in many ways.
It is perfect for:
- Serving on its own
- Pairing with cakes or brownies
- Making sundaes
- Adding toppings
Because of its neutral flavor, it works well with almost any dessert.
Ingredients for Homemade Vanilla Ice Cream
Main Ingredients Table
| Ingredient | Quantity |
|---|---|
| Heavy cream | 2 cups |
| Whole milk | 1 cup |
| Granulated sugar | 3/4 cup |
| Vanilla extract | 1 tablespoon |
| Salt | 1/4 teaspoon |
These ingredients create a smooth and creamy base with classic vanilla flavor.
Optional Add-Ins
You can customize vanilla ice cream with:
- Chocolate chips
- Fresh fruit
- Caramel or fudge
- Cookie pieces
These additions turn it into different flavors easily.
Step-by-Step Guide to Making Vanilla Ice Crea
Preparing the Ice Cream Base
In a mixing bowl, combine heavy cream, milk, and sugar.
Whisk until the sugar is fully dissolved.
Add vanilla extract and salt, then mix until smooth.
Chill the mixture in the refrigerator for at least 1–2 hours.
Churning and Freezing
Pour the chilled mixture into an ice cream maker.
Churn according to the manufacturer’s instructions, usually 20–25 minutes.
Once thick and creamy, transfer to a freezer-safe container.
Freeze for at least 4 hours until firm.
Tips, Variations, and Serving Ideas
How to Get the Creamiest Texture
For best results:
- Use cold ingredients
- Chill the mixture before churning
- Do not over-churn
These steps help create a smooth consistency.
Serving Suggestions
Homemade vanilla ice cream pairs well with:
- Brownies or cakes
- Fresh fruit
- Chocolate sauce
It can also be enjoyed on its own.
FAQs
Can I make ice cream without a machine?
Yes, freeze the mixture and stir every 30 minutes until smooth.
How long does homemade ice cream last?
It lasts up to 2 weeks in the freezer when stored properly.
Can I use low-fat milk?
Yes, but the texture will be less creamy.
Why is my ice cream icy?
This happens if the mixture isn’t churned properly or lacks fat.
Can I add flavors?
Yes, add mix-ins after churning
Homemade vanilla ice cream delivers a rich, creamy, and classic dessert that is simple to prepare and full of flavor. Its versatility and smooth texture make it perfect for any occasion. With just a few ingredients and easy steps, it remains a favorite timeless treat.

Homemade Vanilla Ice Cream
Ingredients
- 2 cups heavy cream
- 1 cup whole milk
- ¾ cup granulated sugar
- 1 tablespoon vanilla extract
- ¼ teaspoon salt
Instructions
- In a bowl, mix heavy cream, milk, and sugar until dissolved.
- Add vanilla extract and salt and mix well.
- Chill mixture in refrigerator for 1 to 2 hours.
- Pour into ice cream maker and churn according to instructions.
- Transfer to a container and freeze for at least 4 hours.
- Serve and enjoy.
Notes
Do not over-churn.
Add mix-ins after churning if desired.