Sunny found zebra cookies while scrolling Pinterest late in the evening, saving cookie ideas that looked impressive but still felt doable. One photo showed perfectly striped vanilla and chocolate cookies, baked just enough to keep their shape. She is not an expert baker, yet slice-and-shape cookies always make her curious. They feel creative rather than technical. Even if the stripes are not perfectly even or one cookie bakes a little darker than the rest, she knows they will still look charming. That balance of fun and comfort is exactly why zebra cookies stand out. They look special, but they still feel homemade.
Table of Contents
Zebra Cookies Overview
What Are Zebra Cookies
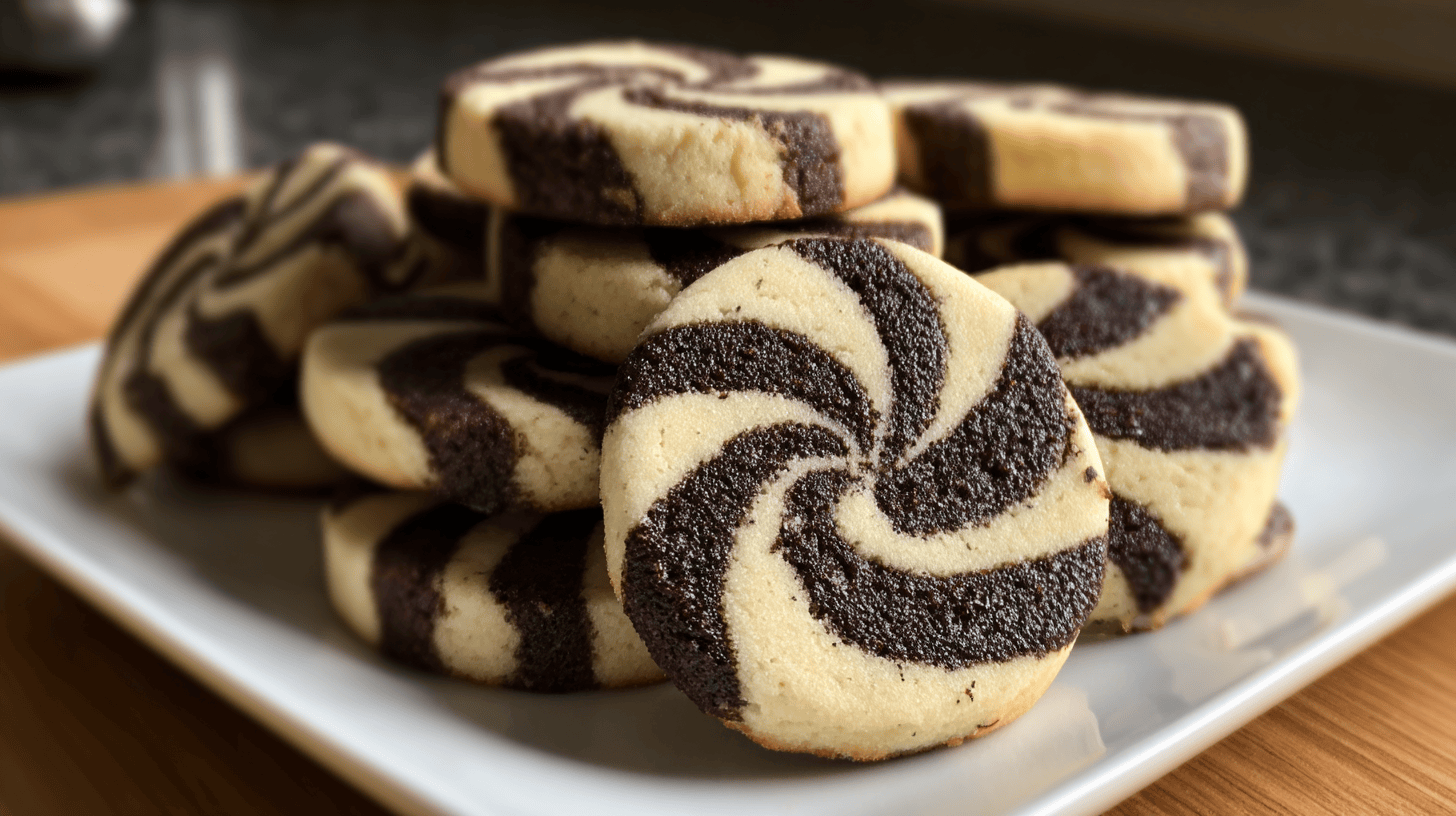
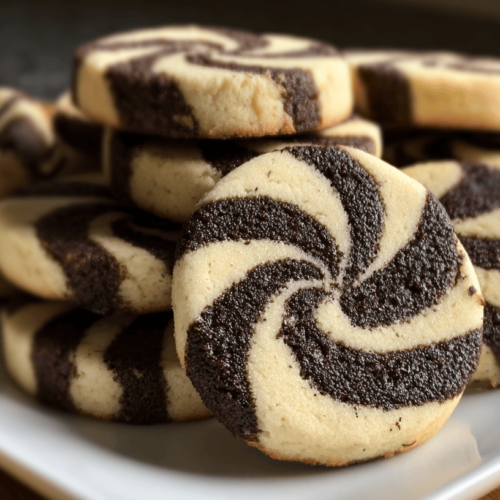
Zebra cookies are patterned cookies made by combining vanilla and chocolate dough into a striped design. The doughs are layered, rolled, and sliced to create a zebra-like pattern once baked. Each cookie shows distinct light and dark stripes, which makes them visually striking without frosting or decoration.
The base is a classic butter cookie dough, split into two portions. One half stays vanilla, while the other is flavored with cocoa. Because both doughs share the same base, they bake evenly and keep a consistent texture. The result is a cookie that looks decorative but tastes familiar and balanced.
Zebra cookies are often associated with holiday baking, but their clean pattern works year-round. They fit cookie trays, gift boxes, and coffee breaks just as easily as themed celebrations.
Why Zebra Cookies Feel So Impressive
Zebra cookies feel impressive because the design looks intentional. The stripes create contrast and symmetry, which catches the eye immediately. However, the method stays straightforward. There is no piping, glazing, or decorating involved.
Another reason these cookies stand out is consistency. Because the dough is shaped before baking, the pattern stays intact. Each slice reveals a new variation of stripes, which makes the cookies feel handcrafted rather than uniform. That natural variation adds charm instead of pressure.
Ingredients for Zebra Cookies
Ingredient List With Measurements
| Ingredient | Measurement |
|---|---|
| Unsalted butter, softened | 1 cup (2 sticks) |
| Powdered sugar | 1 cup |
| Large egg | 1 |
| Vanilla extract | 1 teaspoon |
| All-purpose flour | 2 1/4 cups |
| Salt | 1/4 teaspoon |
| Unsweetened cocoa powder | 2 tablespoons |
| Milk | 1–2 tablespoons |
These ingredients create a smooth, sliceable dough that holds its shape and pattern during baking.
Ingredient Tips for Best Results
Use powdered sugar rather than granulated sugar. It creates a tender, smooth cookie texture that slices cleanly. Butter should be fully softened so the dough blends evenly.
Cocoa powder should be unsweetened for proper contrast with the vanilla dough. Milk helps bring the chocolate dough back to the same consistency as the vanilla dough after cocoa is added. Add it slowly to avoid sticky dough.
Accurate measuring matters here. Balanced dough textures help the stripes stay even and bake uniformly.
How to Make Zebra Cookies
Making and Dividing the Dough
In a large bowl, beat the softened butter and powdered sugar until smooth and creamy. Add the egg and vanilla extract and mix until fully combined.
Add flour and salt and mix just until a soft dough forms. Do not overmix, as that can make the cookies dense.
Divide the dough evenly into two portions. Leave one portion plain for the vanilla dough. To the second portion, add cocoa powder and mix gently. Add milk one tablespoon at a time until the chocolate dough matches the texture of the vanilla dough.
Creating the Zebra Pattern
Roll each dough portion into a rectangle of equal size between sheets of parchment paper. Stack the rectangles on top of each other and press gently so they stick.
Starting from the long edge, roll the layered dough tightly into a log. This rolling action creates the striped pattern. Wrap the log in plastic wrap and refrigerate for at least 1 hour.
Chilling firms the dough and keeps the stripes sharp when slicing. Skipping this step can cause spreading and blurred patterns.
Baking Zebra Cookies
Slicing and Baking for Clean Stripes
Preheat the oven to 350°F and line baking sheets with parchment paper.
Slice the chilled dough log into 1/4-inch rounds. Place cookies on the baking sheet about 2 inches apart. The stripes should be clearly visible at this stage.
Bake for 10–12 minutes, until the edges are set but not browned. Zebra cookies should stay pale to preserve the contrast between vanilla and chocolate. Let them cool on the baking sheet briefly before transferring to a wire rack.
FAQs
Why did my zebra cookie stripes blur while baking?
This usually happens if the dough was not chilled long enough. Chilling firms the butter and helps the stripes stay sharp.
Can I use granulated sugar instead of powdered sugar?
Powdered sugar works best because it creates a smoother dough and a more tender cookie. Granulated sugar can make the cookies grainy.
Do zebra cookies spread a lot?
No, they spread very little when chilled properly, which helps keep the striped pattern intact.
Can zebra cookie dough be frozen?
Yes, you can freeze the dough log tightly wrapped for up to 2 months. Thaw slightly in the refrigerator before slicing.
How do I keep the vanilla and chocolate dough the same texture?
Add milk slowly to the chocolate dough until it matches the softness of the vanilla dough. Balanced texture is key.
Zebra cookies combine classic vanilla and chocolate flavors into a cookie that looks bakery-worthy but remains approachable to make at home. The bold striped pattern adds visual interest without extra decorating, while the tender butter cookie base keeps the flavor familiar and comforting. With simple ingredients and a slice-and-bake method, these cookies are perfect for holidays, gift boxes, or anytime you want a cookie that feels a little more special without extra effort.
Zebra Cookies
Ingredients
- 1 cup unsalted butter softened
- 1 cup powdered sugar
- 1 large egg
- 1 teaspoon vanilla extract
- 2 ¼ cups all-purpose flour
- ¼ teaspoon salt
- 2 tablespoons unsweetened cocoa powder
- 1 –2 tablespoons milk
Instructions
- Beat softened butter and powdered sugar until smooth and creamy.
- Add egg and vanilla extract and mix until combined.
- Add flour and salt and mix just until a soft dough forms.
- Divide dough evenly into two portions.
- Leave one portion plain for vanilla dough.
- Add cocoa powder to the second portion and mix gently.
- Add milk to the chocolate dough one tablespoon at a time until it matches the vanilla dough texture.
- Roll each dough portion into equal rectangles between parchment paper.
- Stack dough layers evenly and press gently together.
- Roll tightly from the long edge into a log.
- Wrap the log and refrigerate for at least 1 hour.
- Preheat oven to 350°F and line baking sheets with parchment paper.
- Slice chilled dough into 1/4-inch rounds and place on baking sheets.
- Bake for 10–12 minutes until edges are set but not browned.
- Cool briefly on the baking sheet, then transfer to a wire rack.