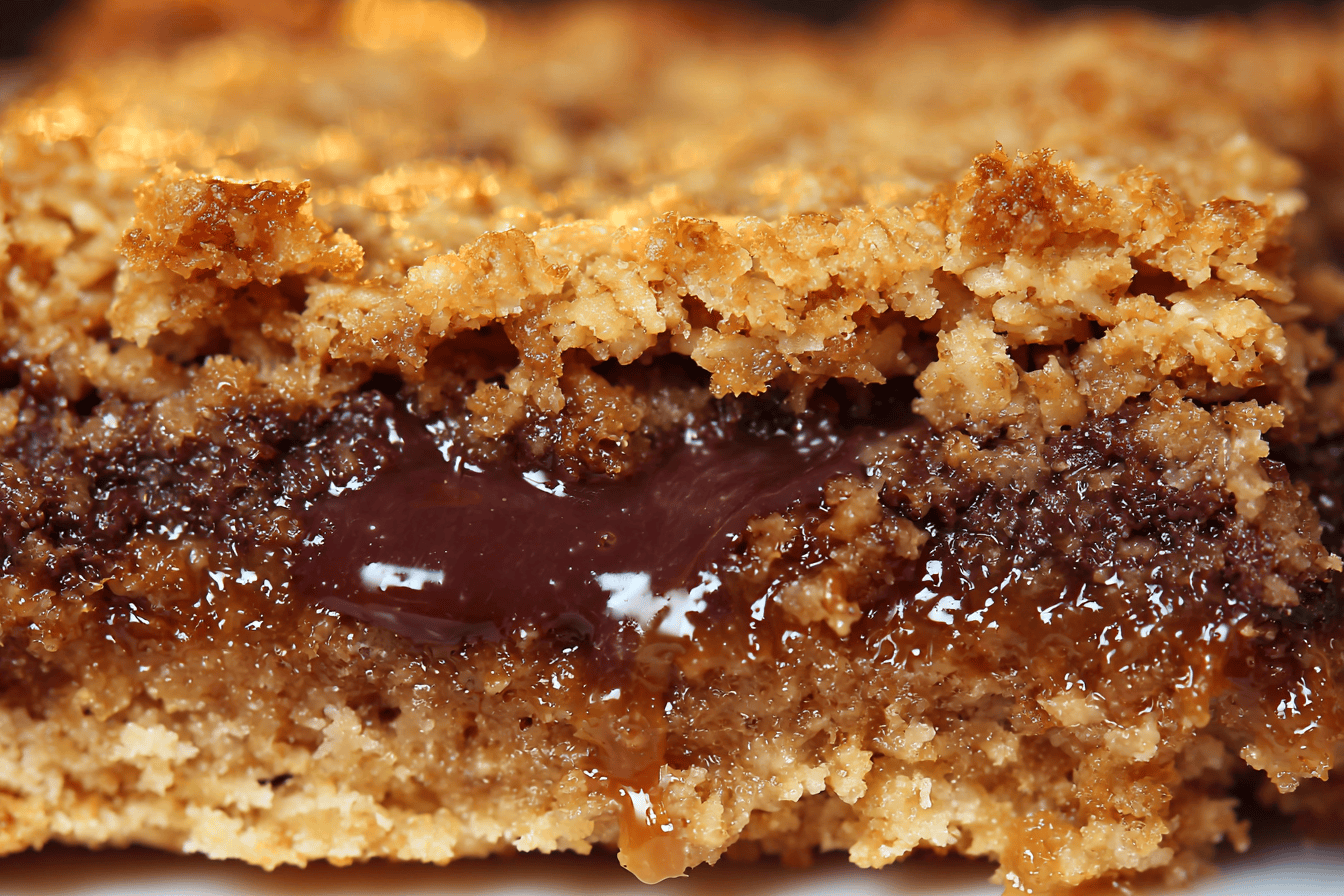
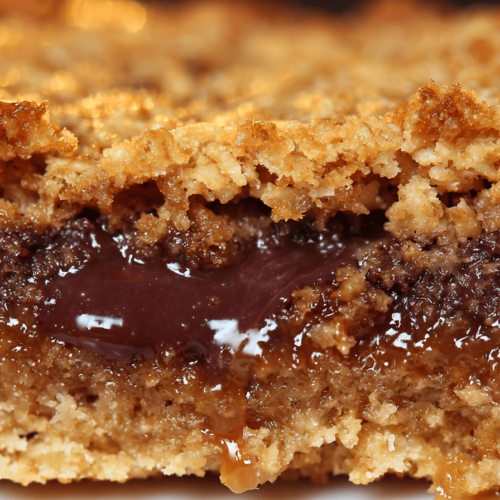
These Oatmeal Chocolate Chip Cookie Bars are one of my most-requested treats, and once you make them, you’ll see why. They’re thick, chewy, and loaded with chocolate chips, with all the cozy flavor of an oatmeal cookie in an easy-to-make bar. Better yet, everything bakes in one 9×13 pan, so there’s no scooping dozens of individual cookies. So whether you’re baking for a party, a potluck, or just a cozy night at home, these bars deliver big. They come together with simple pantry staples and disappear fast every time. Let me show you exactly how I make them.
Table of Contents
Why You’ll Love These Oatmeal Chocolate Chip Cookie Bars
First, they’re incredibly easy, since you skip the fuss of scooping individual cookies. Next, they have the perfect texture, because the oats give them a satisfying chew. Plus, they make a big batch, so one pan feeds a whole crowd. And of course, they’re packed with chocolate, thanks to a generous two cups of chips. Best of all, they travel beautifully in their 9×13 pan. In short, they’re the ultimate fuss-free treat for sharing, and they never last long.
Cookie Bars Beat Individual Cookies
If you love oatmeal chocolate chip cookies but dread the scooping, these bars are your answer. Because you press all the dough into one pan, you skip the tedious step of portioning out cookie after cookie. Meanwhile, you still get that same chewy, chocolatey flavor you crave. As a result, you can whip up a big batch in a fraction of the time. So they’re perfect for those moments when you need a crowd-pleasing dessert without a lot of effort. In other words, they’re all the reward with none of the fuss.
Ingredients You’ll Need
Here’s everything that goes into these bars, measured in US standard amounts. This recipe fills a 9×13 pan and makes 24 bars.
| Ingredient | Amount |
|---|---|
| Butter, room temperature | 1 cup |
| Light brown sugar, packed | 1 cup |
| Granulated sugar | 1/2 cup |
| Large eggs | 2 |
| Vanilla extract | 2 teaspoons |
| Salt | 1/2 teaspoon |
| Baking soda | 1 teaspoon |
| Baking powder | 1 teaspoon |
| All-purpose flour | 1 1/2 cups |
| Old-fashioned rolled oats | 2 cups |
| Chocolate chips | 2 cups |
How to Make Oatmeal Chocolate Chip Cookie Bars
The process comes together in a few simple steps. Read through once, and then let’s get baking.
Step 1: Cream the Butter and Sugars
First, preheat your oven to 350°F and grease a 9×13 pan or line it with parchment. Then, in a large bowl, beat together the butter, brown sugar, and granulated sugar until smooth and light. Because this step builds the base of your bars, take a minute or two to get it fluffy. After that, you’re ready to add the eggs.
Step 2: Add the Eggs and Vanilla
Next, add the eggs one at a time, mixing well after each addition. Then stir in the vanilla extract. Because adding the eggs gradually helps everything blend smoothly, don’t rush it. After that, your wet mixture should look creamy and well combined.
Step 3: Mix the Dry Ingredients
Now, in a separate bowl, combine the salt, baking soda, baking powder, flour, and rolled oats. Then add the dry ingredients to the creamed mixture and stir until just combined. After that, fold in the chocolate chips until they’re evenly distributed. Because overmixing can make the bars tough, stop as soon as everything comes together.
Step 4: Press and Bake
Finally, press the dough evenly into your prepared pan. Then bake for 25 to 30 minutes, or until the top is golden brown. After that, and this part is important, let the bars cool completely before cutting. Because they firm up as they cool, this step gives you clean, sturdy bars instead of a crumbly mess.
My Top Tip: Let Them Cool Completely
I know it’s tempting to dig in the second these come out of the oven, but patience pays off here. Because the bars continue to set as they cool, cutting into them too early leaves you with gooey, crumbly pieces that fall apart. So if you’re bringing them anywhere or want neat squares, let them cool fully before slicing. On the other hand, if you’re eating them at home just for yourself, a warm, slightly messy bar straight from the pan is pure heaven. Either way, they taste amazing.
Tips for the Best Texture
After baking these countless times, here are the tricks I rely on:
- Don’t overbake. Pull them at golden brown for the chewiest texture; a few extra minutes dries them out.
- Use rolled oats. Old-fashioned oats give the best chew, though quick oats work for a softer bar.
- Soften your butter. Room-temperature butter creams up light and fluffy with the sugars.
- Add flaky salt. A sprinkle of flaky salt on top makes the chocolate flavor pop.
Fun Variations to Try
While the classic version is hard to beat, these bars are easy to customize. For instance, you can reduce the chocolate chips to one cup and add dried cranberries or chopped dates for a fruity twist. Alternatively, stir in chopped walnuts or pecans for a nutty crunch. And if you love variety, try using a mix of semi-sweet and milk chocolate chips. So feel free to make these bars your own, depending on what you’re craving.
Storing and Freezing Tips
These bars keep well, which makes them great for baking ahead. To store, keep them covered at room temperature for up to 5 days, or in the fridge for 7 to 10 days. If you want to freeze them, let the pan cool completely first, then lift out the bars if you used parchment. After that, wrap the whole slab in plastic wrap and then foil, and freeze for up to one month. Finally, thaw it completely in the fridge before cutting into bars.
Key Takeaways
- These Oatmeal Chocolate Chip Cookie Bars are thick, chewy, and made in one 9×13 pan.
- Pressing the dough into a pan means no scooping individual cookies.
- Let the bars cool completely before cutting so they set up properly.
- Don’t overbake, and use rolled oats, for the chewiest texture.
- Customize with dried fruit or nuts, and store or freeze with ease.
Final Thoughts
At the end of the day, these bars prove that a crowd-pleasing dessert doesn’t have to be complicated. With pantry staples, one pan, and a little patience while they cool, you get thick, chewy, chocolate-packed bars everyone will love. So the next time you need an easy treat for sharing, give these Oatmeal Chocolate Chip Cookie Bars a try. I have a feeling they’ll become a regular in your kitchen too.
Now I’d love to hear from you! Did you make these Oatmeal Chocolate Chip Cookie Bars, and did you add any fun mix-ins like cranberries or nuts? Leave a comment below, drop a star rating, and share your favorite variation so other readers can try it too.
Oatmeal Chocolate Chip Cookie Bars
Ingredients
- 1 cup butter 227 g, room temperature
- 1 cup light brown sugar 220 g, packed
- ½ cup granulated sugar 100 g
- 2 large eggs
- 2 teaspoons vanilla extract
- ½ teaspoon salt
- 1 teaspoon baking soda
- 1 teaspoon baking powder
- 1 ½ cups all-purpose flour 188 g
- 2 cups old-fashioned rolled oats 170 g
- 2 cups chocolate chips 340 g, semi-sweet, milk, or a mix
Instructions
- Preheat the oven to 350°F (180°C). Lightly grease a 9×13-inch pan with cooking spray or line with parchment paper.
- In a large mixing bowl, beat together the butter, brown sugar, and granulated sugar until smooth and light.
- Add the eggs one at a time, mixing after each addition. Add the vanilla.
- In a separate bowl, combine the salt, baking soda, baking powder, flour, and rolled oats.
- Add the dry ingredients to the creamed mixture and stir until combined. Stir in the chocolate chips.
- Press the dough into the prepared pan and bake for 25 to 30 minutes, or until golden brown. Allow to cool completely before cutting.