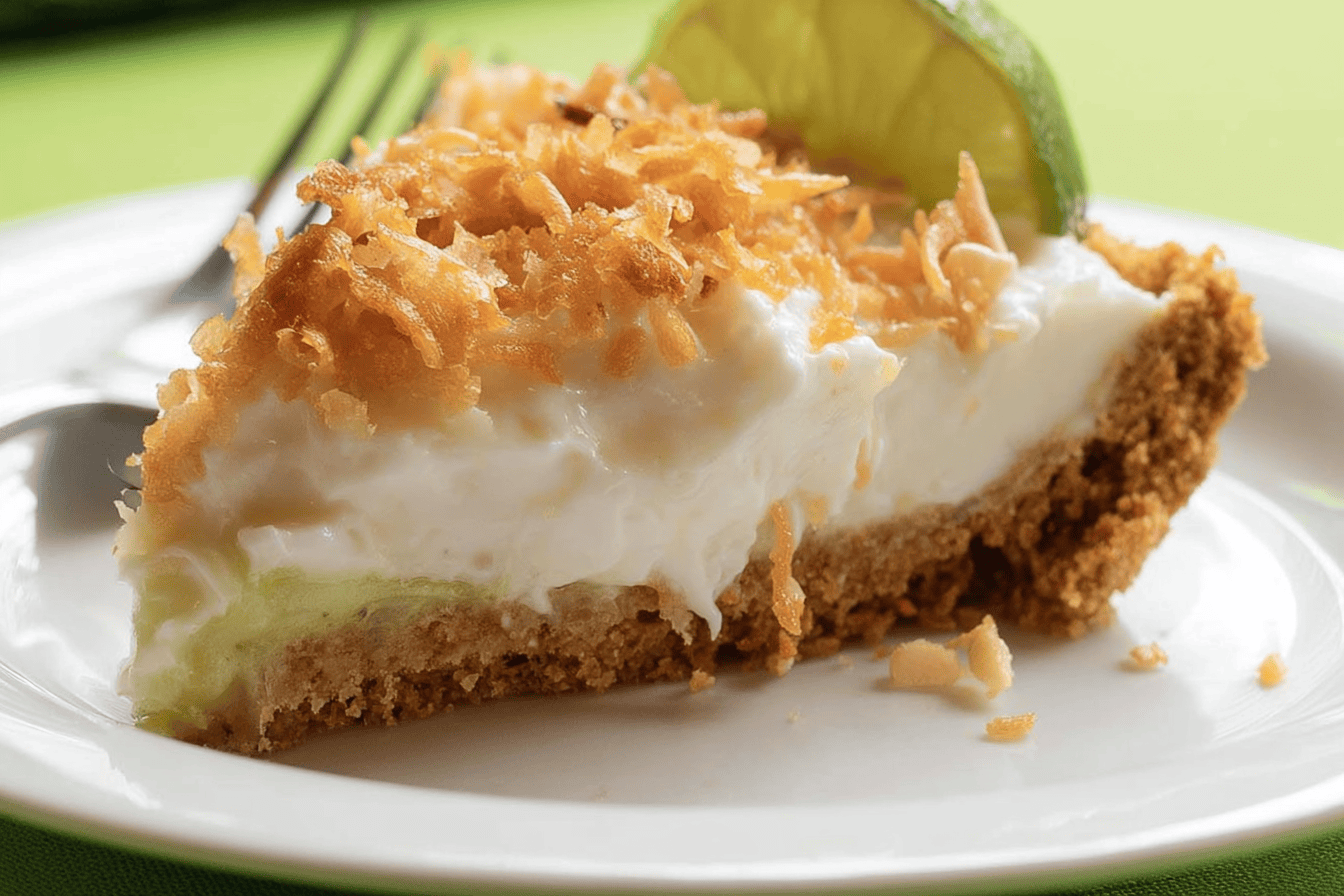
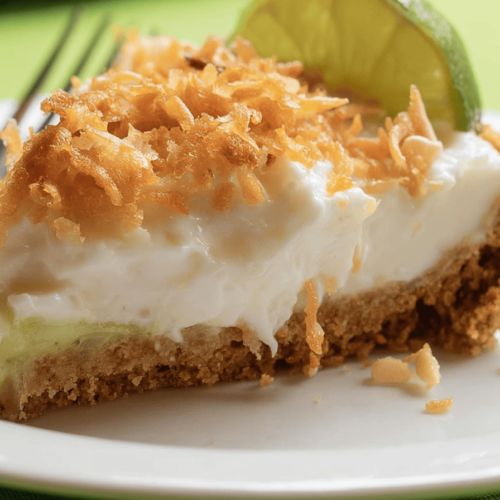
These Key Lime Pie Bars are everything I love about classic key lime pie, just easier to make and way easier to share. Instead of fussing with a delicate crust and slicing neat wedges, you press a buttery graham base into a square pan, pour a creamy lime filling on top, and chill. That’s basically it. So whether you’re heading to a potluck, packing a backyard cookout, or you simply want something cool and tangy after dinner, these bars deliver big flavor with very little effort. Honestly, they disappear faster than any pie I’ve ever set out. Let me show you exactly how.
Why You’ll Love These Key Lime Pie Bars
First, they’re genuinely simple. There are no eggs to temper, no water bath, and no finicky steps that can go sideways. Next, they’re built for sharing. Because you slice them into squares, people can grab one with their fingers, which means no forks, no plates, and no mess at a party. Plus, they travel beautifully. You just pop a lid on your pan, stack it in the fridge, and go. Best of all, they taste exactly like the pie version, with that bright, tart lime hit balanced by a sweet, creamy filling. In other words, you get all the flavor with half the fuss.
The Three Simple Layers
Every great bar comes down to its layers, and these have three. At the bottom, there’s a buttery graham cracker crust that bakes up firm enough to hold a slice. On top of that sits the star: a smooth key lime filling made from sweetened condensed milk, cream cheese, lime juice, and fresh zest. Finally, a soft cloud of whipped cream finishes each square. While the whipped cream is technically optional, I’d never skip it, since it cuts the tartness so nicely. Together, those three layers turn a few pantry staples into something that feels special.
Ingredients You’ll Need
Here’s the full ingredient list, measured in US standard amounts. Everything is easy to find, and you likely have a few of these items already.
| Layer | Ingredient | Amount |
|---|---|---|
| Crust | Graham cracker crumbs (about 12 full sheets, crushed) | 1 1/2 cups |
| Crust | Granulated sugar | 1/3 cup |
| Crust | Butter, melted | 6 Tablespoons |
| Filling | Sweetened condensed milk | 2 (14 oz) cans |
| Filling | Cream cheese, softened | 4 oz |
| Filling | Key lime juice | 3/4 cup |
| Filling | Lime zest (2 regular limes or 4 key limes) | to taste |
| Topping | Fresh whipped cream (optional) | for serving |
How to Make Key Lime Pie Bars
The process breaks into three easy stages, and none of them take long. In fact, your oven is only on for about 15 minutes total. Here’s how it goes.
Step 1: Make the Graham Cracker Crust
First, combine the graham cracker crumbs, sugar, and melted butter in a bowl until the mixture looks like wet sand. Then press it firmly into an 8-inch square baking pan, making sure to push it evenly across the bottom. After that, bake the crust at 350°F for 10 minutes. Once it’s done, let it cool while you work on the filling. This short bake matters, because it sets the base so your bars don’t fall apart later.
Step 2: Mix the Creamy Lime Filling
Meanwhile, add the softened cream cheese to a mixing bowl and beat it with electric beaters until it’s completely smooth. Next, pour in both cans of sweetened condensed milk along with the key lime juice and fresh zest. Then mix again until the filling is silky and lump-free. The cream cheese is the secret here, since it gives the filling extra body so the bars slice cleanly instead of oozing.
Step 3: Bake, Cool, and Chill
Now pour the filling over your cooled crust and spread it level. After that, bake the bars at 350°F for another 10 minutes, just until the edges look set. Then let them cool at room temperature for about 30 minutes. Finally, and this part is non-negotiable, refrigerate the bars for at least 3 hours before slicing. While it’s tempting to dig in early, that chill time is what transforms the soft filling into firm, sliceable squares.
My Pro Tips for Perfect Bars
If you’ve ever had key lime bars turn out soupy, the fix is almost always patience. Many readers who reported soft, wet centers simply didn’t chill them long enough. So for the best texture, I actually recommend chilling overnight whenever you have the time. Beyond that, here are a few tricks I rely on:
- Soften the cream cheese fully. Cold cream cheese leaves lumps, so let it sit out first.
- Press the crust hard. A loosely packed crust crumbles, while a firmly pressed one holds together.
- Zest before you juice. It’s much easier to zest a whole lime than a squeezed one.
- Use a sharp knife. Wipe it clean between cuts for picture-perfect squares.
Fresh vs. Bottled Key Lime Juice
You’ve got two solid options for the lime juice, and both work well. On one hand, you can juice about 20 small fresh key limes, which gives you that authentic, just-picked brightness. On the other hand, you can reach for a trusted bottled key lime juice, which most grocery stores carry and which saves you a serious amount of squeezing. Personally, I keep a bottle on hand for busy weeks, then go fresh when I want to show off. Either way, the recipe turns out delicious.
Make-Ahead and Freezing Instructions
One of the best things about this dessert is how well it waits for you. As a result, it’s perfect for planning ahead before a party. Here’s the quick rundown.
| Method | How To | How Long |
|---|---|---|
| Make Ahead | Store finished bars covered in the fridge | Up to 3 days |
| Crust Ahead | Make the crust early; keep at room temp or chilled | Several days |
| Freeze | Wrap pan tightly in plastic wrap and foil | Up to 3 months |
| Thaw | Move from freezer to fridge overnight | Overnight |
Fun Variations to Try
While the classic version is hard to beat, this recipe also welcomes a few tweaks. For example, one reader added a small pinch of cinnamon to the graham crust, which gave it a warm, subtle background note. Additionally, if you’re feeding a crowd, you can double everything and bake it in a 9×13-inch pan instead. And of course, a sprinkle of extra lime zest on the whipped cream makes the whole tray look bakery-worthy. So feel free to make it your own.
Key Takeaways
- These Key Lime Pie Bars use a graham crust, a creamy lime filling, and whipped cream.
- Total oven time is only about 15 minutes, so they come together fast.
- Chilling for at least 3 hours (or overnight) is the key to clean, firm slices.
- You can use fresh or bottled key lime juice with great results.
- They make ahead and freeze beautifully, which makes party prep easy.
Final Thoughts
At the end of the day, these bars prove that an unforgettable dessert doesn’t have to be complicated. With just a handful of ingredients and a little chill time, you get a tangy, creamy treat that wins over everyone at the table. So the next time you need a make-ahead crowd-pleaser, give these a try and let the fridge do the hard work for you.
Now I’d love to hear from you! Did you make these Key Lime Pie Bars, and did you go fresh or bottled with your lime juice? Drop a comment below, leave a star rating, and share your favorite variation so other readers can try it too.
Key Lime Pie Bars
Ingredients
- 1 ½ cups graham cracker crumbs about 12 full sheets, crushed
- ⅓ cup granulated sugar
- 6 Tablespoons butter melted
- 2 14 oz cans sweetened condensed milk
- 4 oz cream cheese softened
- ¾ cup key lime juice
- Zest of 2 regular limes or 4 key limes
- Fresh whipped cream for topping (optional)
Instructions
- Make the crust: Combine the graham cracker crumbs, sugar, and melted butter. Press firmly and evenly into an 8-inch square baking pan.
- Bake the crust at 350°F for 10 minutes. Let it cool before adding the filling.
- Make the filling: Beat the softened cream cheese until smooth. Add both cans of sweetened condensed milk, the key lime juice, and the lime zest. Mix until smooth.
- Pour the filling over the cooled crust and bake at 350°F for 10 minutes.
- Cool at room temperature for about 30 minutes, then refrigerate for at least 3 hours before serving.
- Top each square with a dollop of fresh whipped cream, if desired.