Particularly in these adorable little bottles, creating your own vanilla extract is quite reassuring. It’s straightforward, simple, and feels like a little indulgence you make yourself in your own kitchen. This simple project will make you grin if you like giving homemade treats or simply want to improve your baking skills.
Components
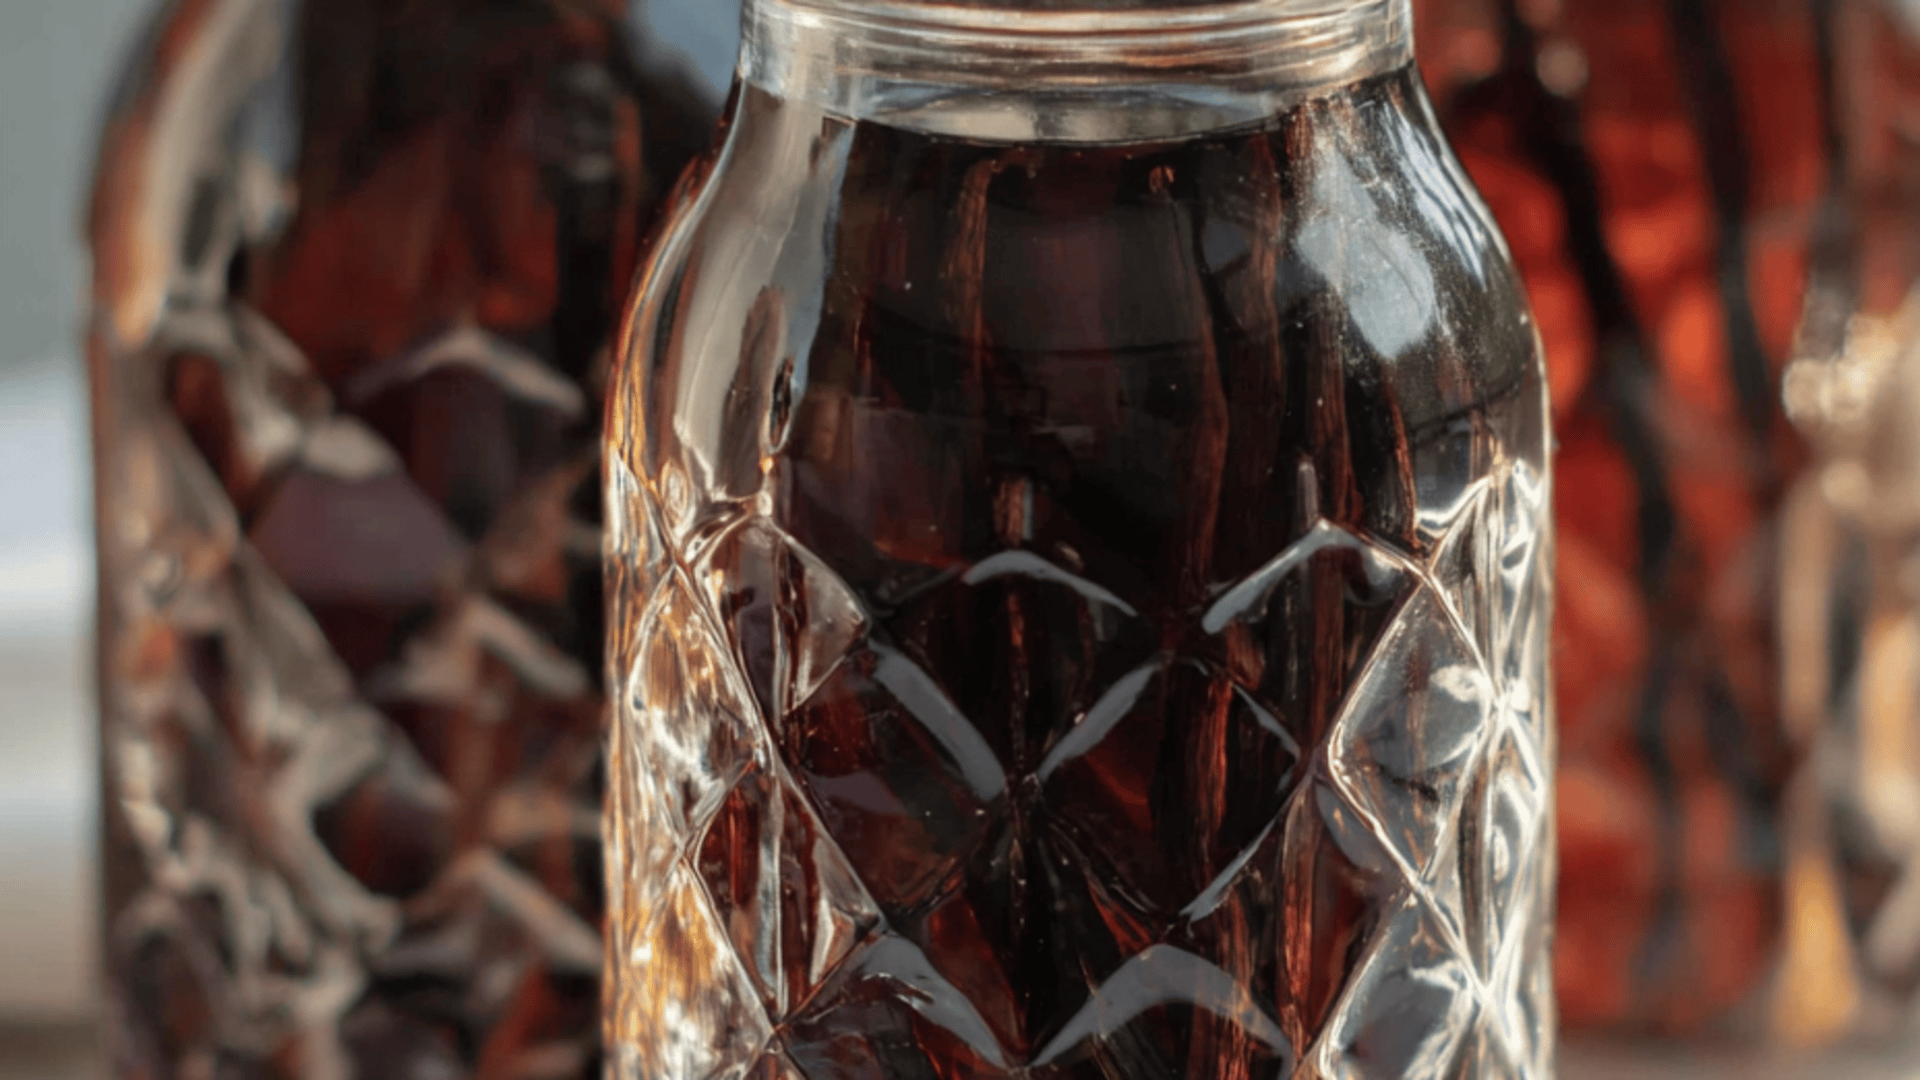
3 vanilla beans, either from Madagascar or Tahiti
One cup of vodka (or bourbon for a warmer taste)
little glass jars with snug lids
Optional exchange: Rum can be used to create a richer, almost caramel-like flavor.
Steps
1.Cut the beans.
Each vanilla bean should be divided lengthwise using a sharp knife. If the seeds spill out a little, don’t worry; that’s the best part.
2.Adjust the size to match your bottles.
Make sure the beans fit comfortably into your small bottles without bending by cutting them.
3.Put the beans inside.
Insert 2–3 pieces of vanilla bean into each container. The sides are fine to touch.
4.Add vodka.
Make sure the beans are entirely submerged by filling the bottle all the way. A little funnel is useful in this situation.
5.Shake and seal.
To release the flavors, gently shake the container after firmly shutting the lid.
6.Be patient and take it slowly.
Keep in a cool, dark location for a minimum of four weeks, shaking once every week. Allowing for a longer steeping period results in a more intense taste.
Advice from the Chef
If the liquid appears hazy at first, don’t worry; the beans are releasing their oils.
Two to three months of aging is perfect for the greatest taste since the longer it ages, the better it gets.
Add more vodka to your bottle when it’s low, and let it sit again; the beans continue to produce.
Differences
Bourbon Vanilla: For a warm, amber flavor, replace the vodka with bourbon.
Citrus Twist: Every bottle should include a little piece of orange peel (remove after 1 week).
Extra Strong: To get a more intense extract, add an additional half bean.