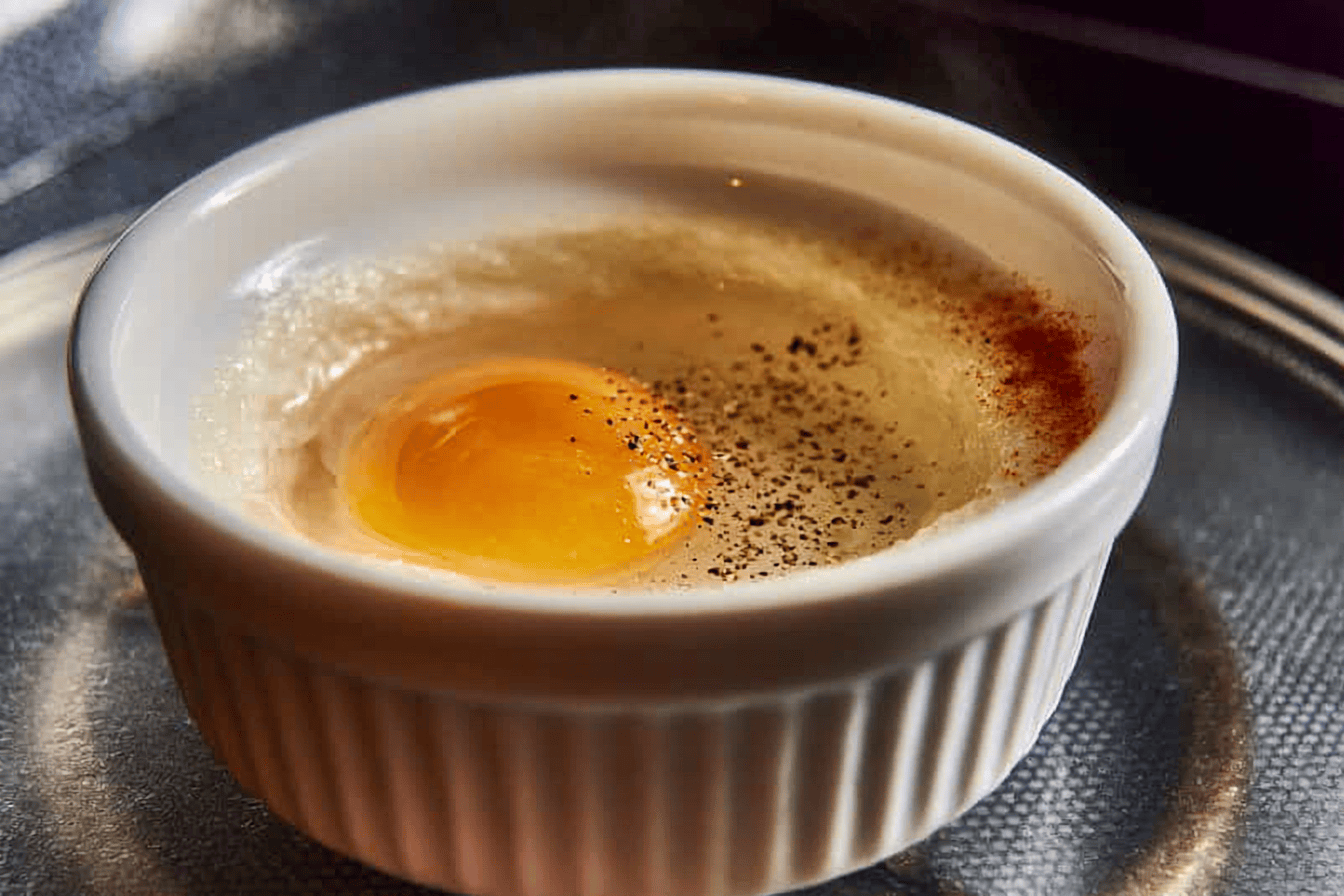
This Microwave Fried Egg gives you a perfect, protein-packed breakfast in about 2 minutes, with no pan and no fuss. Picture a fried egg with a fully set white and a runny, golden yolk, only made entirely in your microwave. Better yet, it uses just a spritz of cooking spray, so it’s lighter and less greasy than the stovetop version. So whether you’re rushing out the door on a busy morning or just don’t feel like washing a skillet, this trick is a lifesaver. It’s fast, easy, and surprisingly delicious. Let me show you exactly how to make one.
Table of Contents
Why You’ll Love This Microwave Fried Egg
First, it’s incredibly fast, since it’s ready in about 2 minutes from start to finish. Next, it means almost no cleanup, because you cook it on a single plate or bowl. Plus, it’s healthier than pan-frying, thanks to using only a light spray of oil. And of course, it’s naturally gluten-free, Paleo-friendly, and Whole30-compliant. Best of all, it delivers that satisfying runny yolk we all crave. In short, it’s a quick, wholesome breakfast that fits even the most hectic mornings.
Is a Microwave Fried Egg Healthy?
If you’re wondering whether this method is good for you, the answer is yes. Because microwaving uses a short cooking time and very little liquid, it can actually help preserve more of the egg’s nutrients. Eggs themselves are an excellent source of high-quality protein, healthy fats, and important nutrients like choline, selenium, and vitamins A, B12, and D. On top of that, cooking eggs makes their protein easier to digest. Since this recipe uses only a spritz of cooking spray, it’s lower in fat and calories than a traditional pan-fried egg.
Ingredients You’ll Need
Here’s everything you need, measured in US standard amounts. This recipe makes 1 serving.
| Ingredient | Amount |
|---|---|
| Large egg | 1 |
| Salt | to taste |
| Black pepper | to taste |
| Nonstick cooking spray | as needed |
How to Make a Microwave Fried Egg
The process could not be simpler, and it all happens on one dish. Read through once, and then let’s get cooking.
Step 1: Prep the Dish
First, spray a microwave-safe plate or bowl with nonstick cooking spray. Because eggs tend to stick, this light coating keeps yours from clinging to the dish. Then you’re ready to add the egg.
Step 2: Crack and Pierce the Egg
Next, crack the egg onto the center of the plate, being careful to keep the yolk intact. Then, and this step is essential, gently pierce the yolk with a toothpick or the tip of a knife. Because an unpierced yolk can burst in the microwave, this small step prevents a messy pop. After that, your egg is ready to season.
Step 3: Season and Microwave
Now, season the egg with salt and pepper to taste. Then microwave on high for 30 seconds and check on it. After that, if it needs more time, continue microwaving in 10-second intervals until the white is set and the yolk is cooked to your preference. Finally, serve it immediately while it’s hot.
My Top Tip: Always Pierce the Yolk
If you take away just one thing from this recipe, let it be this: never skip piercing the yolk. Because the microwave heats the egg from the inside out, steam builds up inside an intact yolk quickly. As a result, an unpierced yolk can burst and splatter all over your microwave. So use a toothpick or knife tip to make a small hole before cooking. That tiny step keeps your yolk beautifully runny while avoiding a messy, frustrating cleanup.
How to Avoid Rubbery Eggs
Nobody wants a tough, rubbery egg, so timing is everything here. Rubbery eggs happen when they cook too long or on too high a power, which causes the proteins to tighten and squeeze out moisture. That’s exactly why this recipe uses short bursts rather than one long blast. So start with 30 seconds, then add just 10 seconds at a time, checking after each. Because the egg keeps cooking a bit from residual heat, it’s smart to stop just before it looks fully done.
Adjusting for Your Microwave
Since every microwave is a little different, you may need to fine-tune the timing. Higher-wattage models cook faster, so keep a close eye on your egg the first time you make it. If you want to cook two eggs at once, use two separate bowls and expect them to take a little longer. In that case, add time gradually, and let the eggs finish cooking from the residual heat of the hot dish after they come out. So pay attention the first time, and you’ll dial in your perfect timing quickly.
Serving Ideas
A microwave fried egg is delicious as a simple, protein-rich bite all on its own. However, it also shines in plenty of other ways. For a classic breakfast, serve it on buttered toast and dip into that runny yolk. Meanwhile, it pairs well with overnight oats or a protein shake for a fuller morning meal. You can also use it to top rice bowls, salads, or grain bowls for an easy protein boost. So get creative and build your plate around it.
Storing Leftovers
These eggs are truly best enjoyed fresh, straight from the microwave. Because reheated eggs can turn rubbery or watery, they don’t store as well as some other dishes. That said, if you do have a leftover egg, let it cool and keep it in an airtight container in the fridge for up to 2 days. Then chop it up and add it to salads, sandwiches, or wraps for extra protein. One note: freezing isn’t recommended, since it affects the texture.
Key Takeaways
- This Microwave Fried Egg is ready in about 2 minutes with just one egg and a spritz of spray.
- Always pierce the yolk before cooking so it doesn’t burst in the microwave.
- Cook in short bursts (30 seconds, then 10-second intervals) to avoid rubbery eggs.
- It’s lighter than pan-fried and naturally gluten-free, Paleo, and Whole30.
- Enjoy it fresh on toast, in bowls, or chopped into salads and wraps.
Final Thoughts
At the end of the day, this recipe proves that a warm, satisfying breakfast doesn’t have to take time or dirty a pan. With one egg, a microwave, and two minutes, you get a fried egg with a perfectly runny yolk whenever you need it. So the next time your morning gets hectic, skip the stove and give this Microwave Fried Egg a try. It just might become your new weekday go-to.
Now it’s your turn! Did you make this Microwave Fried Egg, and how did you like your yolk, runny or firm? Leave a comment below, drop a star rating, and share your favorite way to serve it so other readers can try it too.
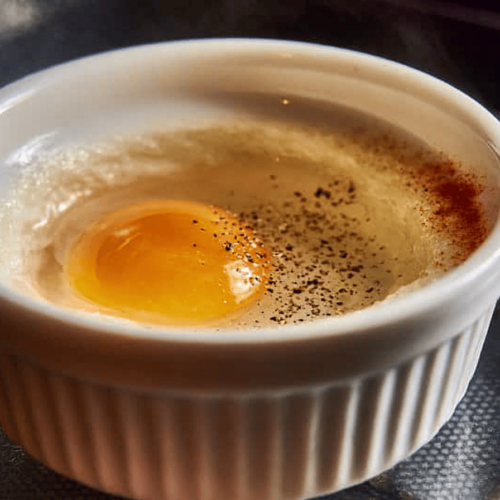
Microwave Fried Egg
Ingredients
- 1 large egg
- Salt to taste
- Black pepper to taste
- Nonstick cooking spray
Instructions
- Spray a microwave-safe plate or bowl with nonstick cooking spray.
- Crack the egg onto the center of the plate, being careful to keep the yolk intact.
- Gently pierce the yolk with a toothpick or the tip of a knife to prevent it from bursting.
- Season the egg with salt and pepper to taste.
- Microwave on high for 30 seconds, then check the egg. If necessary, continue microwaving in 10-second intervals until the white is set and the yolk is cooked to your preference.
- Serve immediately.